
Learn how to obtain an access token from the OrangeHRM Starter Application!
This guide assumes you have completed the prerequisites
1. Authorization Request
The first step of the OAuth 2.0 flow for the OrangeHRM Starter application involves making an authorization request. This request is done by visiting /oauth2/authorize in your browser and providing the correct query parameters for authorization.
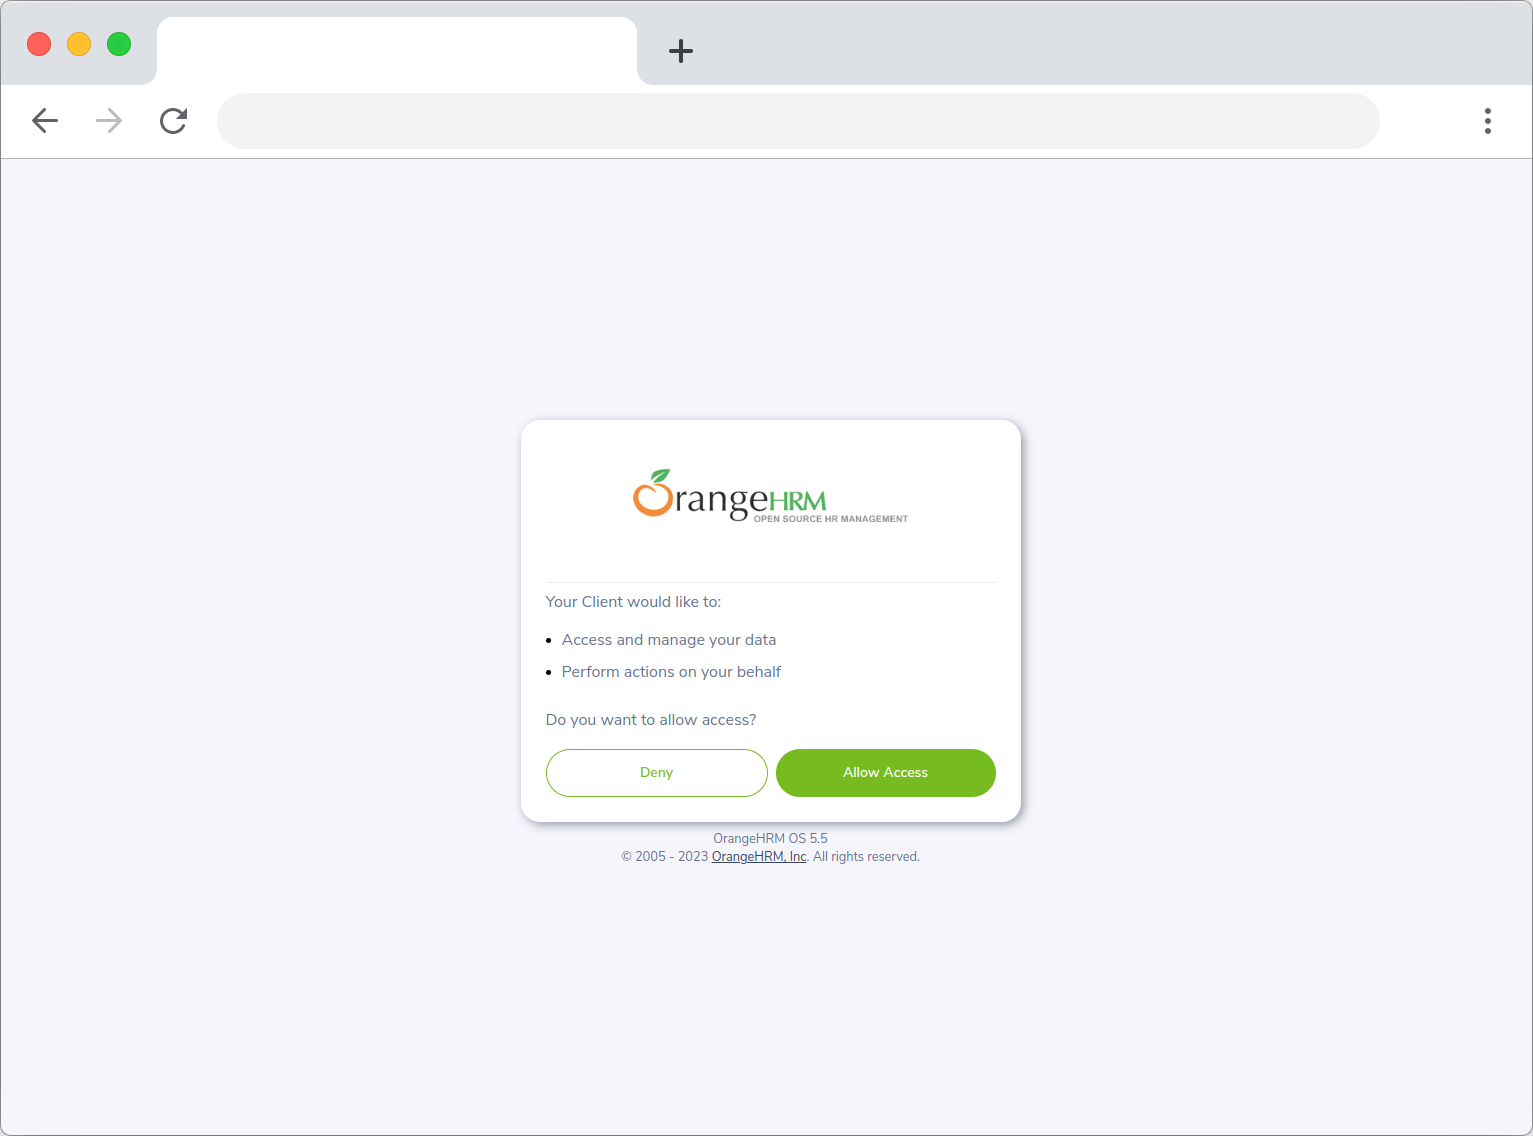
The Consent Screen
Query Parameters
| Parameter | Required | Allowed Values | Explanation |
|---|---|---|---|
response_type | YES | code | Used to inform the authorization server of the desired grant type. OrangeHRM Starter only supports the Authorization Code grant type but this field is required by the standard. The value must be set to code |
code_challenge_method | YES | plain, S256 | Informs the authorization server of the method of generation of the code challenge. |
code_challenge | YES | Refer to Code Challenge | This will be used later to validate the code verifier sent with the token request. |
client_id | YES | Refer to Registering a Client | Informs the server of which client is requesting an authorization code |
redirect_uri | YES | Refer to Registering a Client | OrangeHRM starter will redirect to this URL after the user provides consent. Make sure that this matches the exact value provided when registering a client |
state | No | Up to you | The state is an opaque value used the client (i.e you) to verify the authorization code response. The OrangeHRM Starter application will include the state as a query parameter upon redirection when providing consent. |
Example
An example URL is given below:
http://your-ohrm-url.com/web/index.php/oauth2/authorize?response_type=code&state=your_state&code_challenge_method=S256&code_challenge=your_challenge&client_id=your_client_id&redirect_uri=your_redirect_uri
Common Errors
Please refer to Common Error Responses
2. Authorization Response
After the user clicks "Allow Access", the OrangeHRM Starter application will redirect to URL provided in Registering a Client and the authorization code and state (if provided in step 1) will be included as query parameters.
Query Parameters
| Parameter | Explanation |
|---|---|
code | The authorization code. This will be used in the next step. |
state | The state provided in step 1. This can be validated by the client (i.e. you) by comparing it with the state sent previously. The values should be exactly the same. Will not be included if the state was not provided in the first step. |
Example
An example URL is given below:
http://your_redirect_uri.com?code=authorization_code&state=state_provided_in_step_1
3. Access Token Request
Now we can use the previously obtained authorization code in order to make a request for an access token.
Properties
The client must make a POSTrequest to the /oauth/token endpoint using the application/x-www-form-urlencodedformat with the following properties.
| Property | Required | Allowed Values | Explanation |
|---|---|---|---|
grant_type | YES | authorization_code | Informs the server that the authorization code grant is being used. |
code | YES | The authorization code obtained in step 2 | Used to obtain the access token |
client_id | YES | Refer to Registering a Client | Must be the same value provided in step 1 |
redirect_uri | YES | Refer to Registering a Client | Must be the same value provided in step 1 |
code_verifier | YES | Refer to Code Verifier | This will be verified against the code challenge provided in step 1 |
Example
An example access token request is given below in cURL but you can use any language.
curl 'your-ohrm-url.com/web/index.php/oauth2/token' \
-H 'Content-Type: application/x-www-form-urlencoded' \
--data-urlencode 'client_id=your_client_id' \
--data-urlencode 'grant_type=authorization_code' \
--data-urlencode 'code=your_authorization_code' \
--data-urlencode 'redirect_uri=your_redirect_url' \
--data-urlencode 'code_verifier=your_code_verifier'
Common Errors
Please refer to Common Error Responses
4. Access Token Response
After sending the above request, you will receive an access token which you can use to make API requests!
Properties
The response from the token endpoint will contain the following properties:
| Property | Explanation |
|---|---|
token_type | The type of token. Bearer by default. |
expires_in | This property will give the amount of time in seconds it takes for the access token to expire. 30 minutes by default (1800 seconds) |
access_token | The access token that can be used to make API requests! |
refresh_token | A token that can be used to obtain a new access token. This process is described in the next section! |
Example
An example response from the token endpoint is given below:
{
  "token_type": "Bearer",
  "expires_in": 1800,
  "access_token": "your_access_token",
  "refresh_token": "your_refresh_token"
}
Great job! You can use your new access token to make API requests
Your access token will last for 30 minutes. After that you can use the refresh token you obtained in step 4 to get a new access token without having to follow step 1-4 again.